Download it at http://picasa.google.com/intl/en/
You can easily load photographs from your camera to Picasa or import saved files to view. My favorite part of acquiring photos from my camera is Picasa gives you the option to erase from your camera all the photos you are putting on you computer. This saves me time having to delete photos from my camera. There is an area where you can make collages which is one of the things I do for parts of my photo videos. You can make a mosaic, a picture pile, a framed mosaic, a grid or a contact sheet, so your options are pretty good.
~~~~~~~~~~~~~~~~~~~~~~~~
PART 1c
This article will cover those last available options working with collage in Picasa. If you read part one and two you should be quite familiar with this part of the program. Once you are working with it all of these parts will come rather easy to you. The best part of it now is that you can experiment with your own photos and have some fun.
First is Grid: Arrange pictures into regular rows and columns
Below is the menu bar you will see

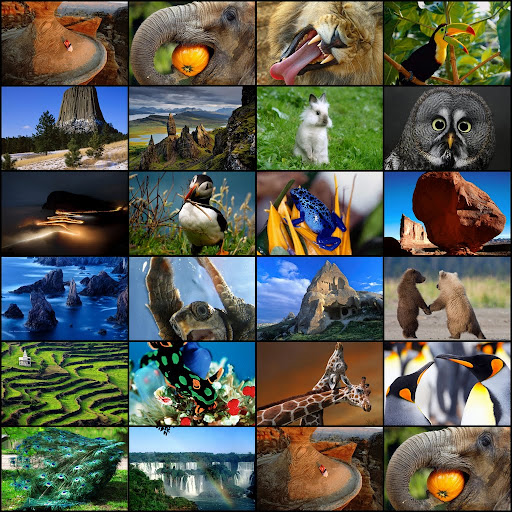
In the next image I used the following settings - grid spacing (just a little) if you use no spacing at all the photos lack individuality. They run into each other but with a tiny bit of a grid you get each to stand out. The grid is set at a solid color and that color is black.
I used draw shadows because that adds just the slightest bit of depth to the images. You can try with it on and off to see the difference and choose which you prefer.
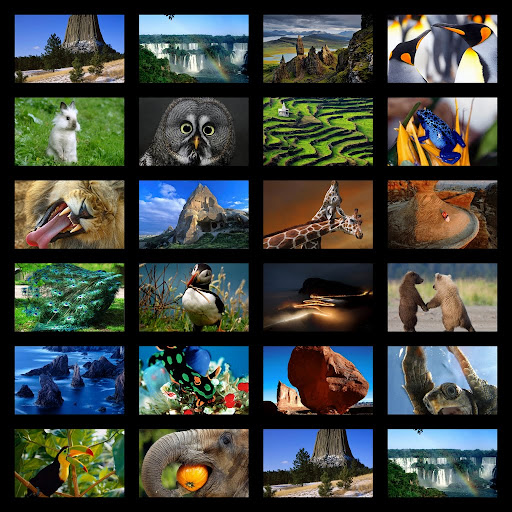
In the next image I scrambled the photos and used a bigger grid.
Everything else is set the same.
After you are happy with your creation hit save collage. Remember you can always edit at a later time.
The last of the options under collage is
Contact Sheet: Thumbnails with an informative header

In the image below the following settings were used.
There are three options for frames - I used the center one to add small frames. The frame color can not be changed it is always white.
With this option the amount of space between your photos is done automatically by the program. The more photos you add the less space. I used a photo for the background but you can set it to be a solid color of your choice. There is a color picker so you can choose a color in one of the photos and by holding it over the color you want and clicking it you will get that color instantly. No guessing. Again I added the Draw Shadows option for debth, you can play with this to see if you want it on or off. There is not a big difference when you use this but it does add to the image.

In the next image I used the third option for the photo frames - polaroid. I set the background to a solid color - in this case I use the color picker over the grass of the photo with the bunny rabbit. The draw shadows is on.
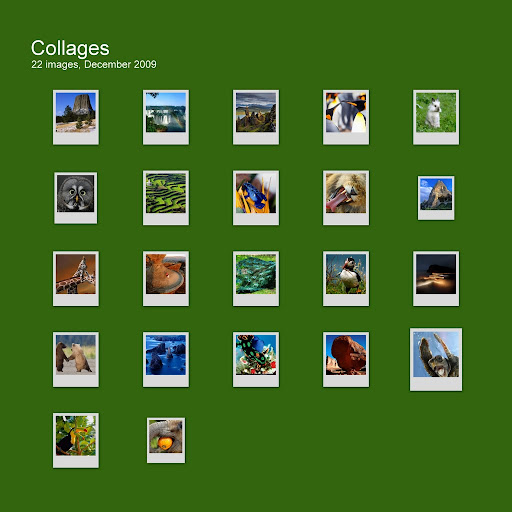
I never did find a way to change the title and/or information on the contact sheet. The program chooses what you see. I will start with the 'Create Movie Presentation' in my next article. I discovered while putting together a video "The Beauty of Nature" that this is not the only program I have used.
I do hope to cover the Picasa program and then try and give some pointers on 'Windows Movie Maker' program.
If there are any questions regarding this program you would like me to cover just message me.
Marisa Horn
No comments:
Post a Comment
Thank you very much for leaving a comment